비주얼 스튜디오 코드⑪ 네비게이션, 이미지 넣기
#header = <div id="header"></div> = <header></header> = <header id="header"></header>
<header> : header의 역할만 함
<section> : div와 똑같은 역할

border: 테두리선
wrap에 높이값 넣지 않는다. 그 이유는 wrap의 높이 값이 고정되어있으면 유동적으로 수정이 불가능
01 웹디자인 참고 사이트
<폰트 소스>
본문 폰트크기 : 13px -14px
눈누: 눈누 (noonnu.cc)
구글폰트: Browse Fonts - Google Fonts
Google Fonts
Making the web more beautiful, fast, and open through great typography
fonts.google.com
<컬러넘버>
Color - Materialize (materializecss.com)
Color - Materialize
To apply a background color, just add the color name and light/darkness as a class to the element. This is a card panel with a teal lighten-2 class This is a card panel with a teal lighten-2 class
materializecss.com
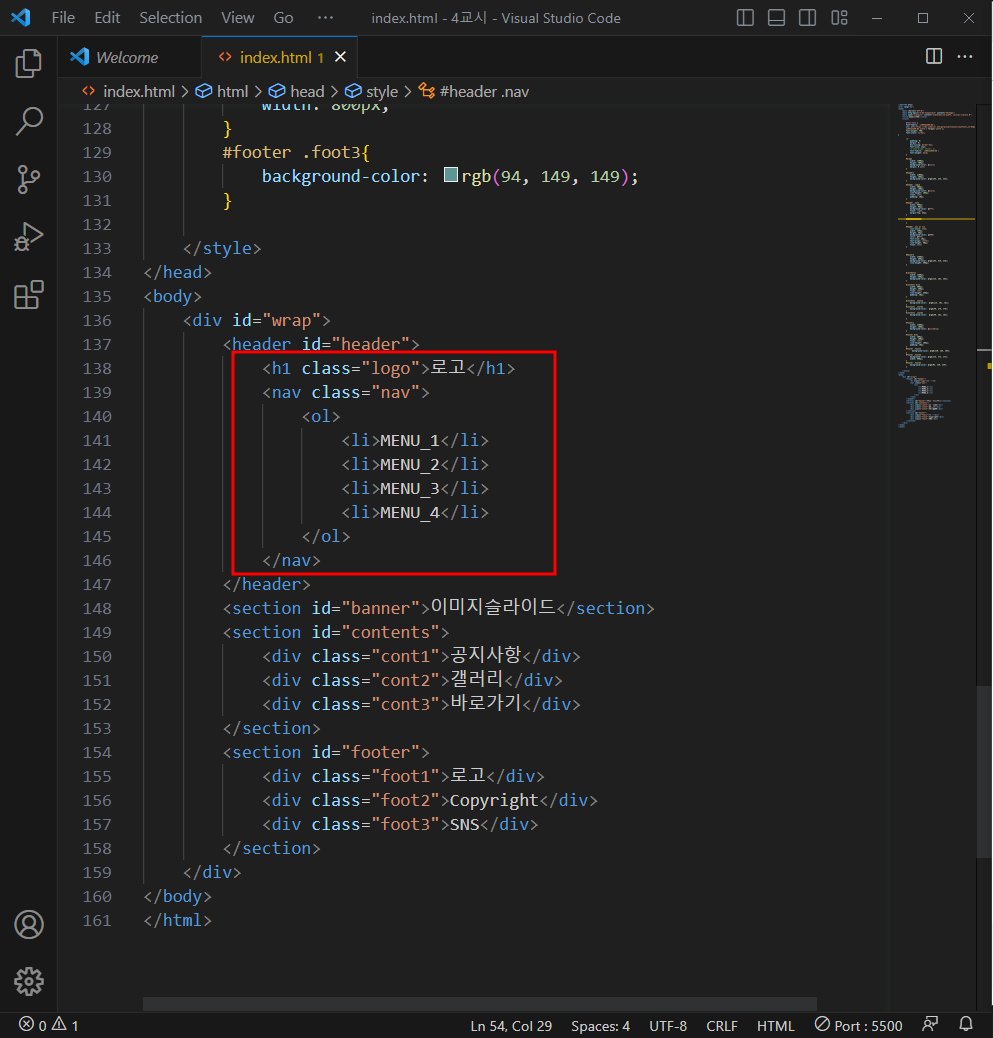
네비게이션
h1태그 : 로고, 주로 제목에 사용, 가장 큰 태그
h2 부터 사용
네비게이션만들기
ul / li 태그로 사용


ul 이 li를 감싸고 있음
ol : 순서가 있는 목록
ul: 순서가 없는 목록
float: left; 로 네비게이션을 옆으로 배열해주기

list-style: none; 목록 앞 부분 색인 없애줌
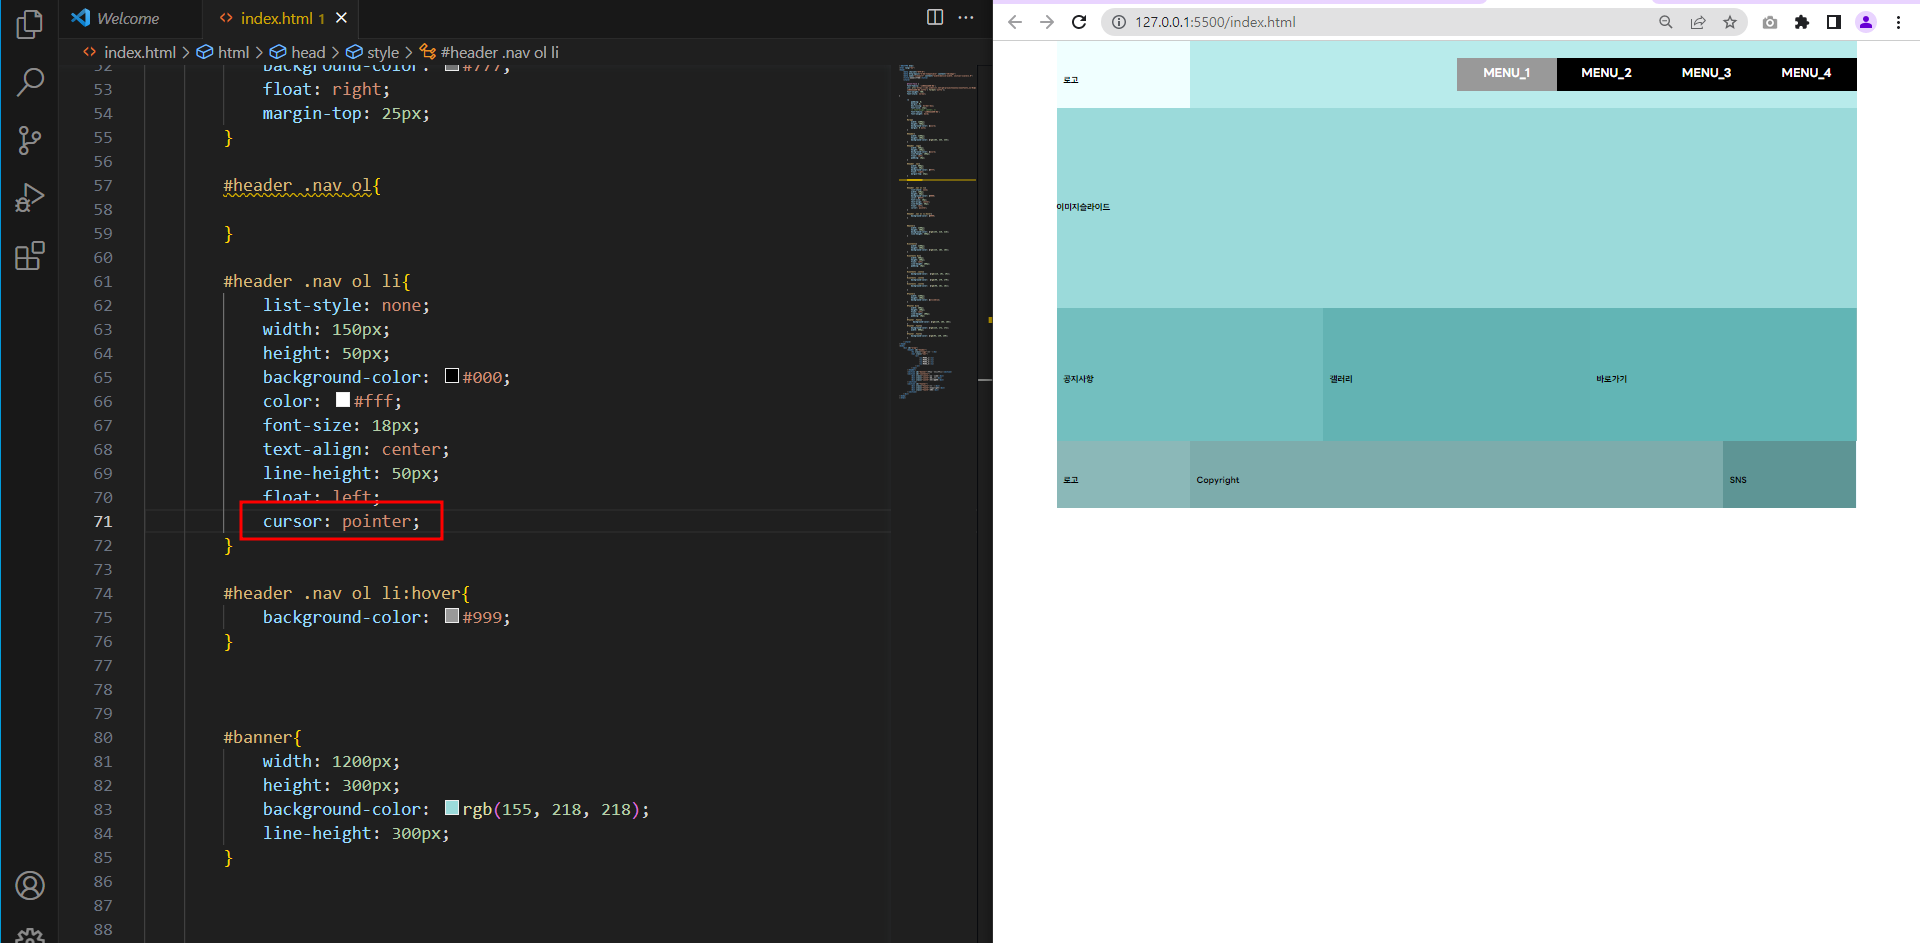
hover: 마우스 올려놓으면 색깔이 변경됨

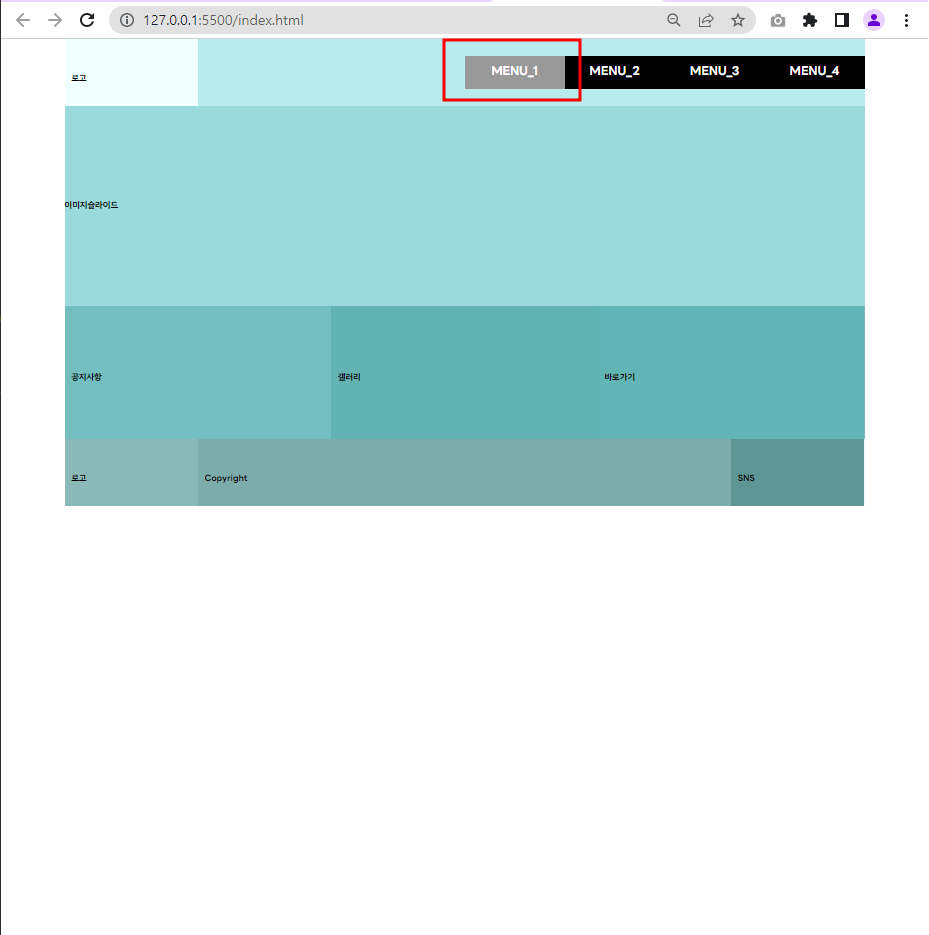
커서모양 바꿔주기
cursor: pointer;
이미지 넣어주기
img
<img src="경로" alt "이미지설명">
웹표준으로 충족되기 위해 alt 설명 꼭 넣어주기

로고이미지가 들어간 것을 확인할 수 있다.

**실무팁
사진이 와이어프레임 배율이 안 맞을 때 클라이언트와 사진을 어떻게 작업 할지 협의 후 작업하기
디자인을 받을 경우에는 포토샵파일을 반드시 받기!
| html(body) | css(style) |
| id | #id |
| class | #부모 .자식 |